Nightwatch.jsとは
Node.js上で動くE2Eテストフレームワーク。seleniumを使いやすくしたようなイメージ。
テストの記述方法が簡単。headlessモードでも動かせる。
E2Eテストの自動化だけでなく、ブラウザで行う定常動作の自動化とかもできそう。
winActorとかに代表されるRPAツールを導入するようなお金とかないし、個人で気軽にやってみたい。とかのきっかけでもおすすめできると思います。
インストール
必要なもの
・インターネットにアクセスできる環境
・Node.js
・Selenium Standalone Server
・ブラウザ(edge,IE,firefox,chrome,etc…)
・ブラウザに対応するwebdriver
Node.js
Selenium Standalone Server
「selenium-server-standalone-X.XX.X.jar」を手に入れる。
https://www.seleniumhq.org/download/
バージョンを選んでDLする場合はここから
http://selenium-release.storage.googleapis.com/index.html
webdriver
chrome
ChromeDriver
https://sites.google.com/a/chromium.org/chromedriver/downloads
firefox
geckodriver
https://github.com/mozilla/geckodriver/releases
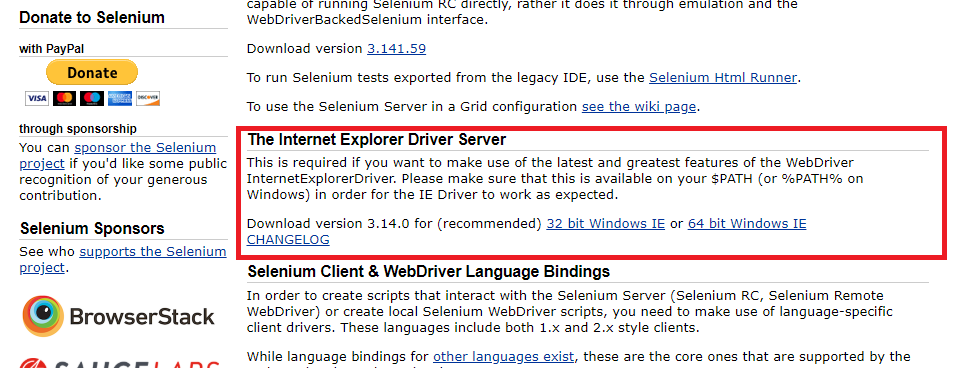
Internet Explorer
The Internet Explorer Driver Server
Selenium Standalone Serverと同じ場所にある
https://www.seleniumhq.org/download/
注意
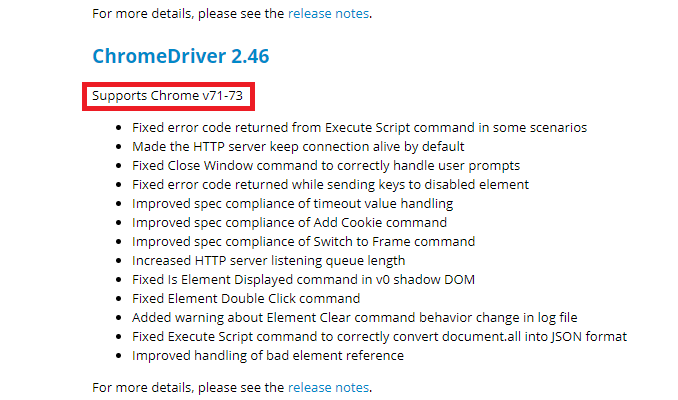
webdriverとブラウザのバージョン互換性に注意が必要。
これがずれてるとnightwatchを起動してもエラーになる。
例えば、chromeだとChromeDriver 2.46を使うとした場合、
chromeのサポートバージョンはv71-73の間を使わなければならない。
firefoxの場合だとrelease情報に記載がしてある。

この例だとseleniumのバージョンも記載がしてあるので注意。
Hello world
npmで必要なモジュールをインストールする
まずnightwatchを始める基底ディレクトリを作る。
(ここでは「C:\opt\nightwatch」とする)
「C:\opt\nightwatch」に移動し、コマンドプロンプトでnightwatchをインストールする。
npm install nightwatch
nightwatch.js
windowsで動かすときは必要らしい。
「C:\opt\nightwatch」直下に置いておく
require('nightwatch/bin/runner.js');
起動に必要なdriver系
「C:\opt\nightwatch\lib」を作成し、chromeで起動するのでchromedriver.exeを格納しておく。
最小構成の場合、chromedriver.exeだけで動かせる。
selenium-server-standaloneを使う場合は同じ場所に入れておく。
test
「C:\opt\nightwatch\tests」を作成し、ブラウザでテストするソースを格納する。
https://chocoby.jp/blog/2015/04/30/selenium-server-windows-nightwatch-js/の方のテストソースをちょっと拝借しました。
nightwatch.json
nightwatchの一番重要なファイル。全ての設定を司る。
nightwatch.conf.jsという名前でjavascript形式で書く必要もあるが今回は割愛。
{
	"src_folders": [
		"tests"
	],
	"output_folder": "reports",
	"webdriver": {
		"start_process": true,
		"server_path": "./lib/chromedriver",
		"cli_args": [
			"--verbose"
		],
		"port": 9515
	},
	"test_settings": {
		"default": {
			"desiredCapabilities": {
				"browserName": "chrome"
			}
		}
	}
}
実行
コマンドプロンプトから、以下のコマンドでnightwatchが起動されれば成功。
node nightwatch.js
C:\opt\nightwatch>node nightwatch.js

[Google] Test Suite
===================

DevTools listening on ws://127.0.0.1:51039/devtools/browser/eb3df138-aed6-422a-a157-b779a7f47e59
Running:  Demo test Google

√ Element <body> was visible after 19 milliseconds.
√ Testing if the page title equals "Google"  - 5 ms.
√ Testing if element <input[type=text]> is visible  - 21 ms.
  Warning: More than one element (2) found for <input[name=btnK]> with selector: "input[name=btnK]". Only the first one will be used.
√ Element <input[name=btnK]> was visible after 534 milliseconds.

OK. 4 assertions passed. (3.065s)
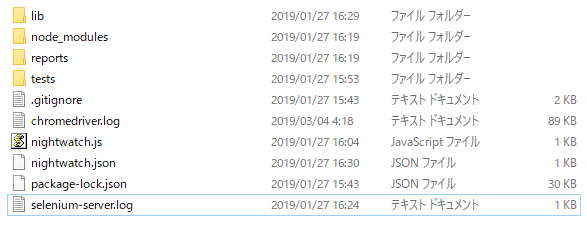
最終的なディレクトリ構成はこんな感じになる。